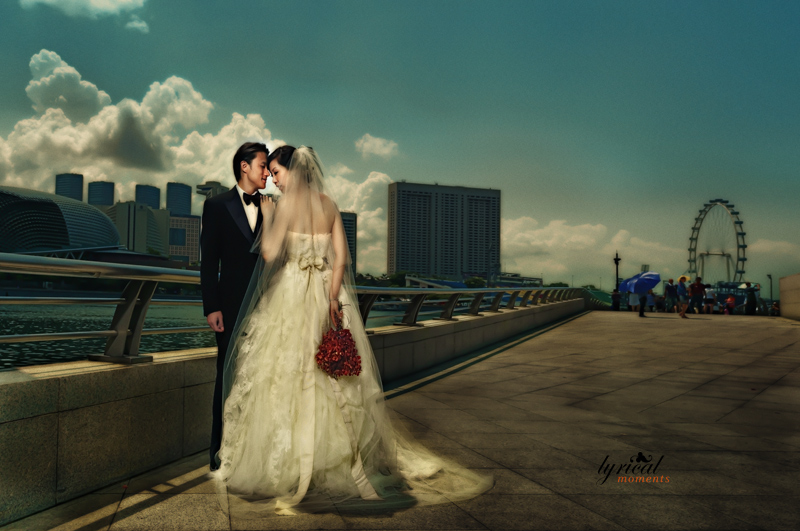
2 top awards from ISPWP!

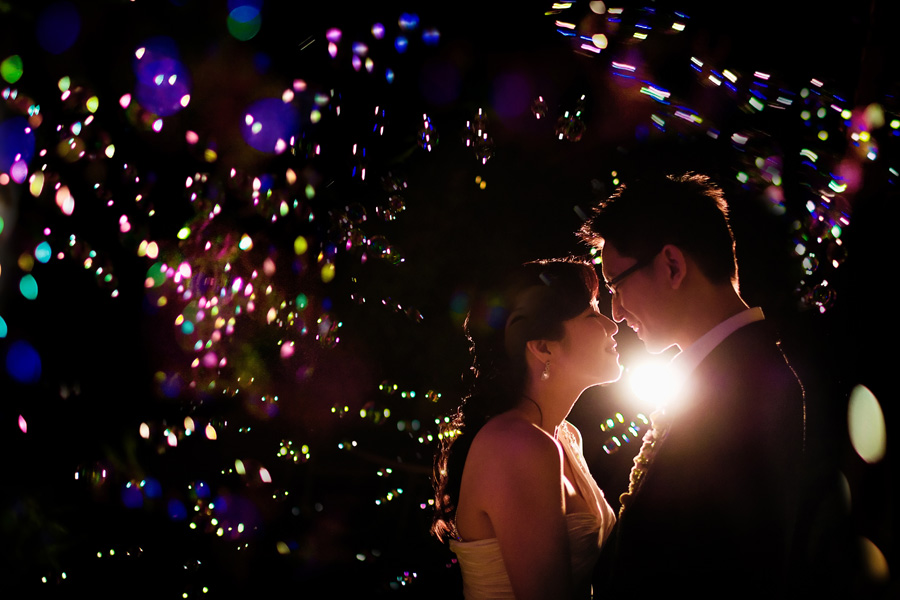
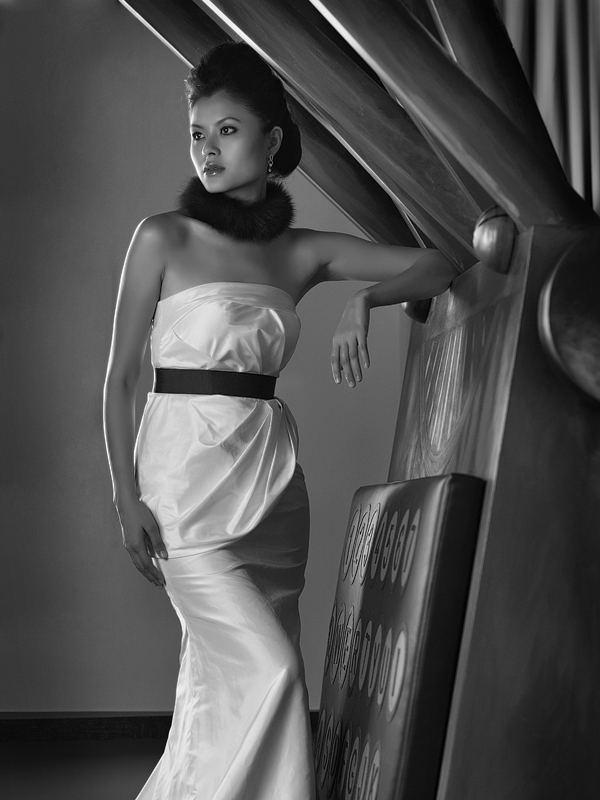
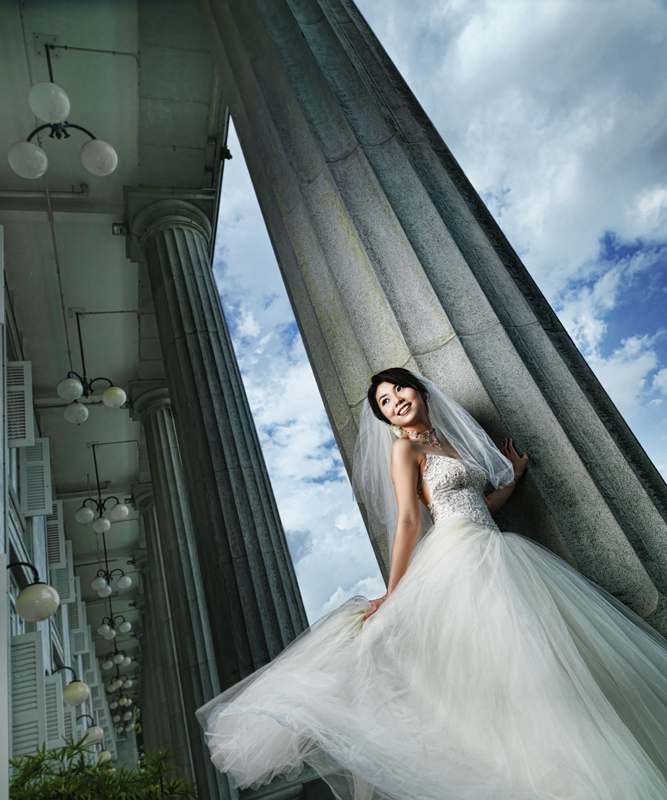
Some good news to share, 2 of my images have been awarded 1st and 3rd placing in the final Quarter of ISPWP competition.


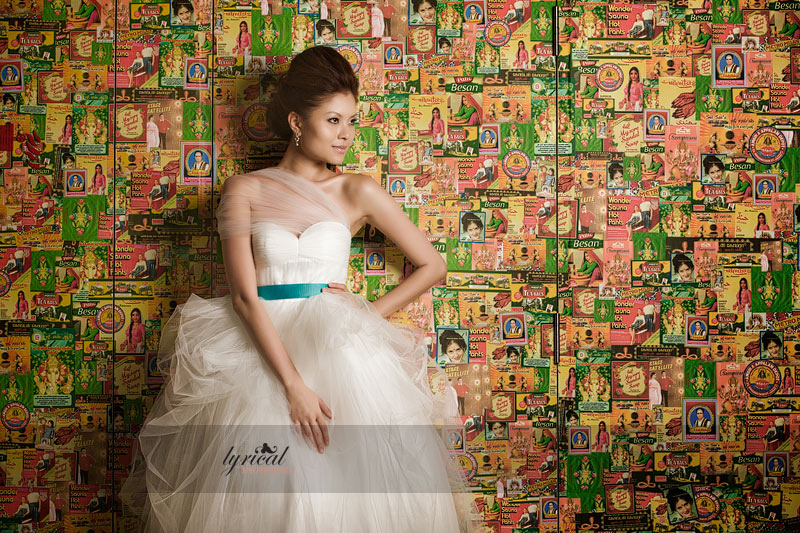
1st placing under The Wedding Dress

(Kellie and Jim, that’s an awesome dress that you guys design, love it!)


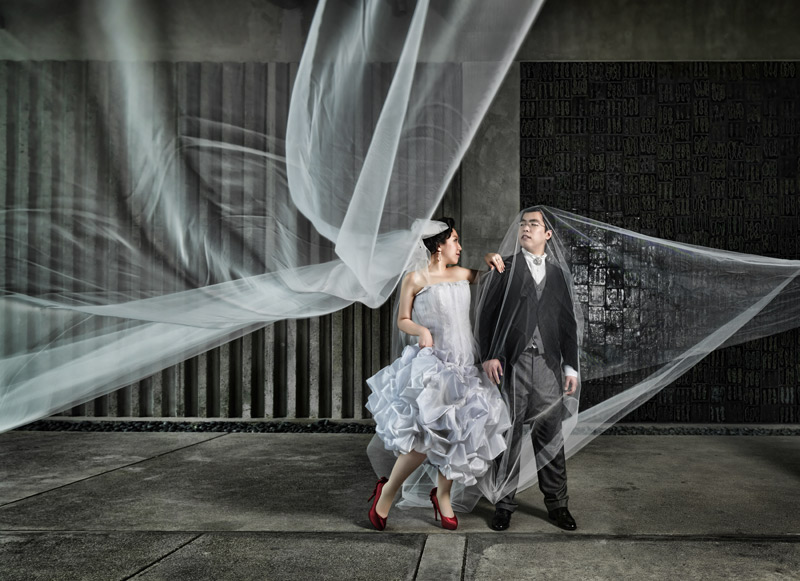
3rd Place under First Dance

(Ken & Lee Yen: Finally won something with this image! Looking forward to our baby photography session soon!)

Post to Twitter

Overseas Bridal in Kyoto, Japan | Singapore wedding photographer

We are planning a trip to Kyoto on 5 April 2012, which happens to be the cherry blossom season!

As usual, limited sessions available, so those interested in photoshoot there, please drop us an email at evangeline@lyricalmoments.com

🙂

Post to Twitter

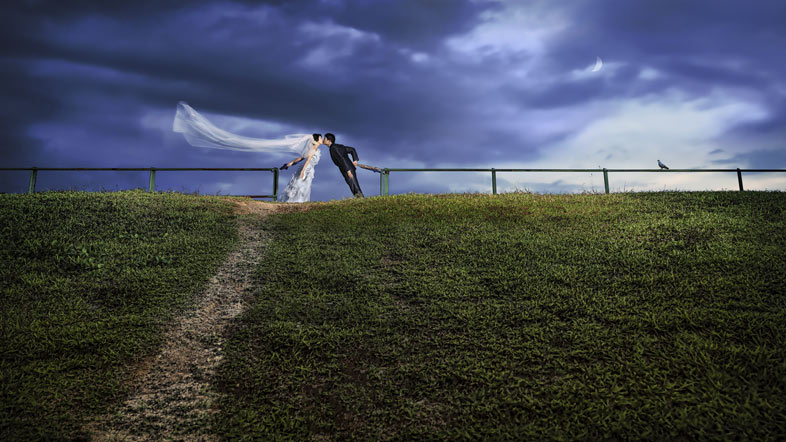
The Missing Link – the print that scored 90 at the Master Photography Awards 2011

This print finally received the recognition that it deserves, 8 months after it was created – the Master Photography Awards 2011 gave this print an impressive score of 90, the highest I’ve ever achieved.  Oh yes, to top it off, it received also an Award of Excellence.

The Missing Link

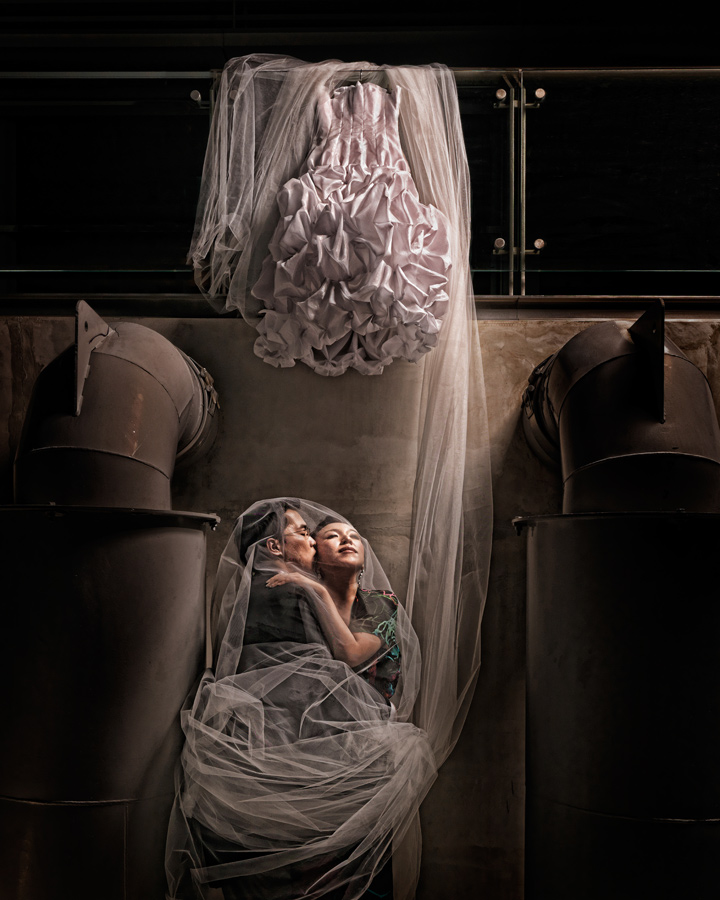
Entitled “The Missing Link”, this is an example of poetic expression in our works – how two person bridge the gap (literall!).   And no, this is not the DLC for Deus Ex – Human Revolution, which by the way is one of the better games made this year.

We must have spent at least 50 minutes to get this image, so many thanks to my couple who believed in my work and vision; not forgetting my trusty assistants Joseph and Vee, who were both working tirelessly with me to create one of my best works this year!

Post to Twitter

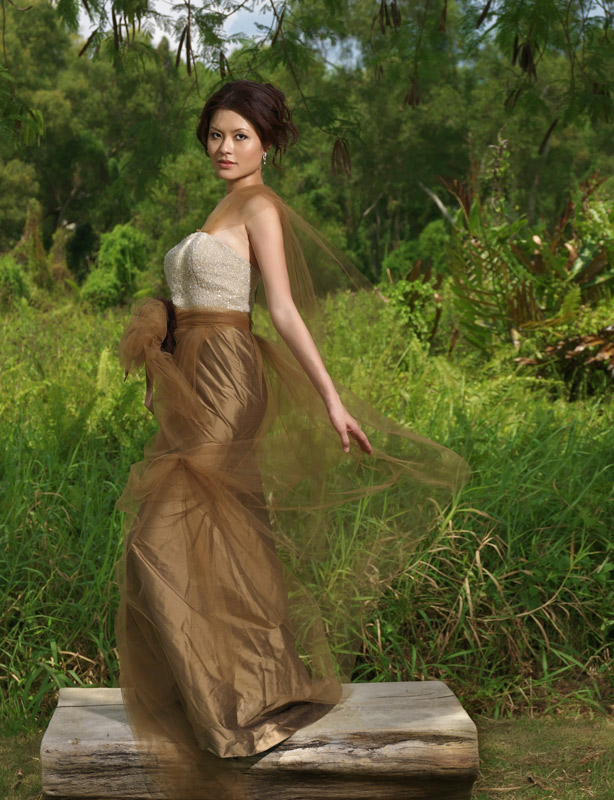
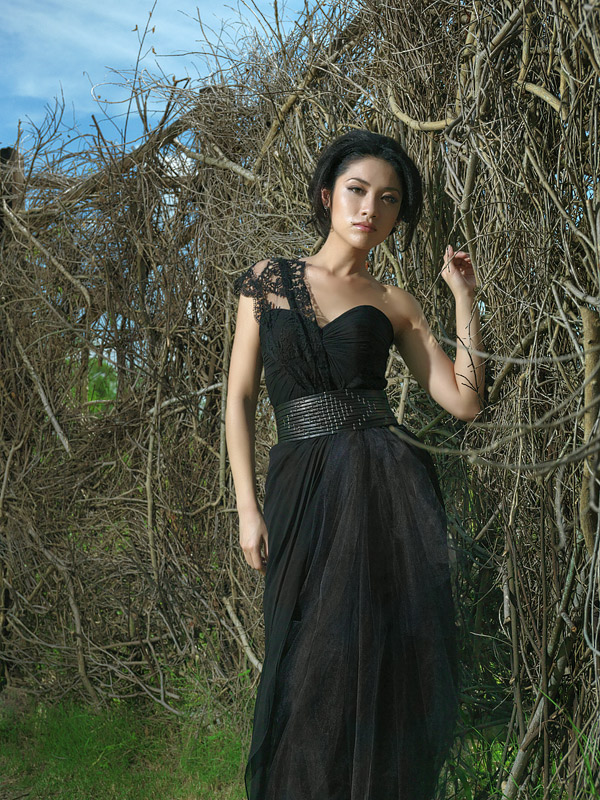
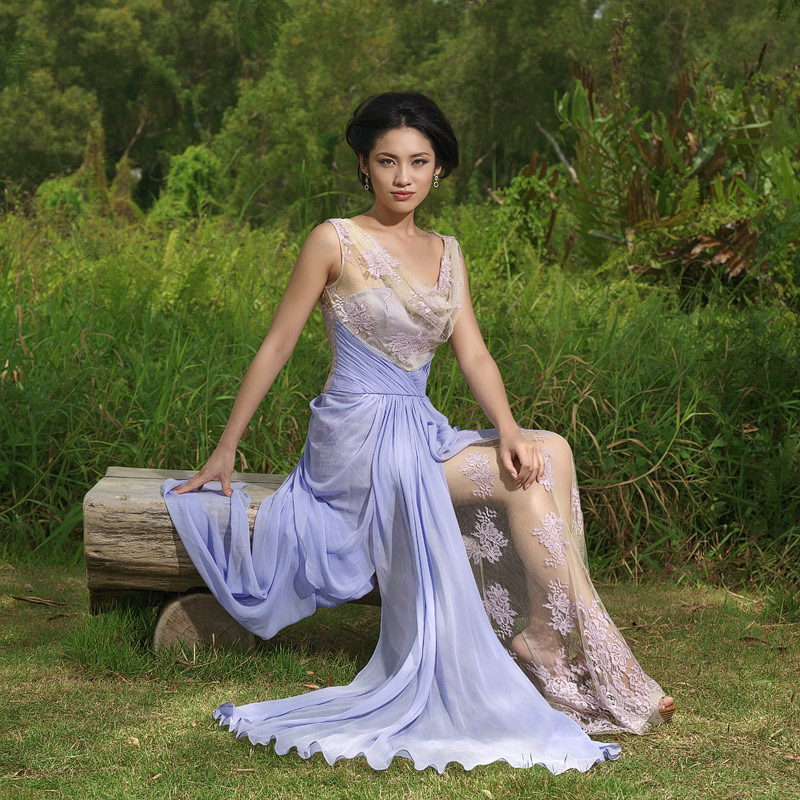
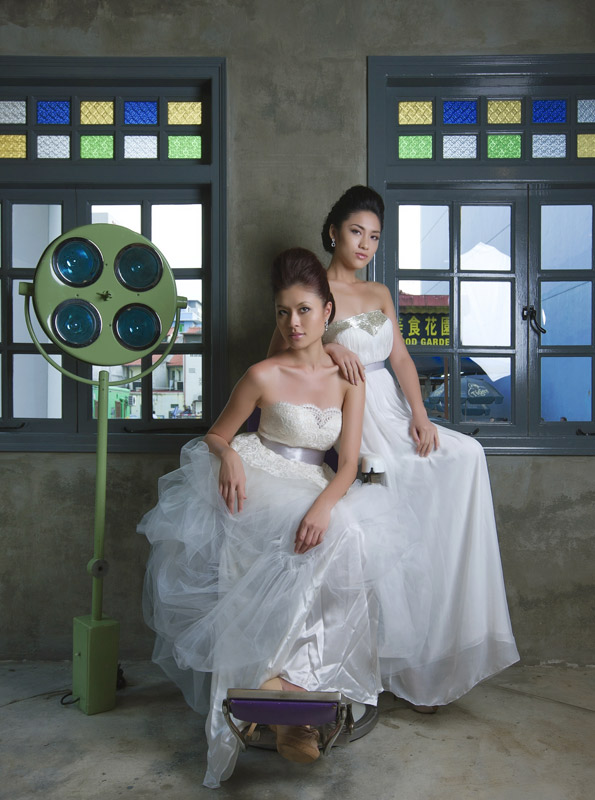
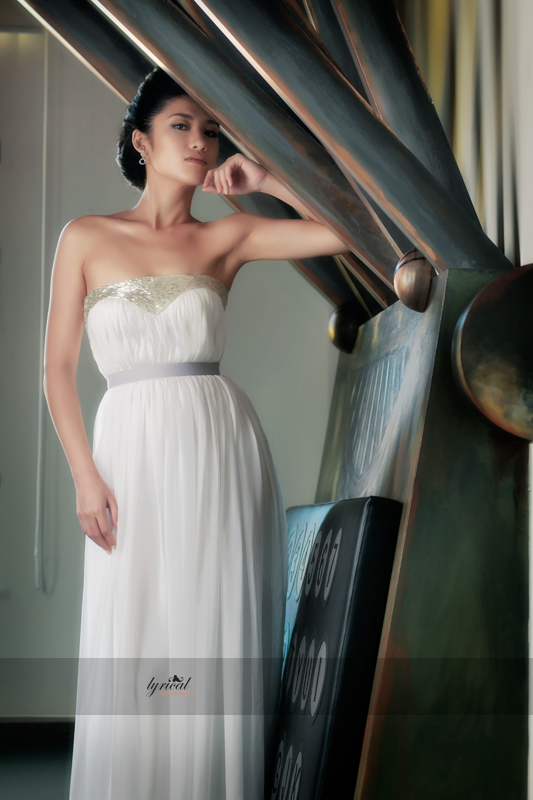
Jos + Rach gowns

More images from the Jos+Rach series.  One of the biggest challenges and part of the fun is how we make this set of bridal images look like it’s not photographed in Singapore!

Speaking of which, time to scout for more venues for wedding photography 🙂

Post to Twitter

From yesterday’s photoshoot…

Was a crazy hot afternoon yesterday and among the crew involved in the photo shoot, the savvy ones who applied sunblock lotion got away with nasty sun burn.  That’s how the weather is like in Singapore, forever summer … and now we know why many of couples from overseas choose to get married here as well.

We finally headed to the Wanderlust hotel, a new boutique hotel near Little India, and after a whole of baking in the sun, even the slight bit of air conditioning is heaven.

Here’s one that I like, featuring the beautiful gown from Jos + Rachel , more to come 🙂


Post to Twitter

Review of RadLab, the latest Photoshop plugin by TotallyRad!

The past two weeks had been really exciting, apart from the massive work preparing for print competitions, I was working with RadLab, the latest Photoshop plugin tools from TotallyRad! and here’s my humble review of it.

Being a fan of TRA or Totally Rad Actions since 2008, I have been following the developers on twitter and RadLab is something that I can’t wait getting my paws on…So what’s the big deal about RadLab?


My setup

PC Intel i7 920 CPU @2.67 GHz

12 gig ram

Windows 7 Ultimate edition 64-bit

Photoshop CS5

Images used for this review are either shot with a Hasselblad H4D-40 or Canon EOS 1Ds mk III.   All images are edited in their full resolution.


The Stacking game

I love the RadLab interface!  The developers have certainly thought of how workflow is carried out, starting from Basic Adjustment from the top, the familiar TRA actions in the middle and sharpening at the button.  Do note that the order in which the effects are applied does make a difference – for example, the vignette from EZburn looks very different if it’s place on top or below another effect say Pool Party.  It does take a bit of arranging to find out what’s best for you and that’s what RadLab is all about – mixing and matching the effects first, and then saving the formulas for images later.

This is one example of how I stacked 5 effects together.  The image is shot with a Hasselblad H4D-40, a 40 megapixels digital medium format system.  The raw file is rendered using Phocus, the Hasselblad’s proprietary software before pulling it into RadLab.
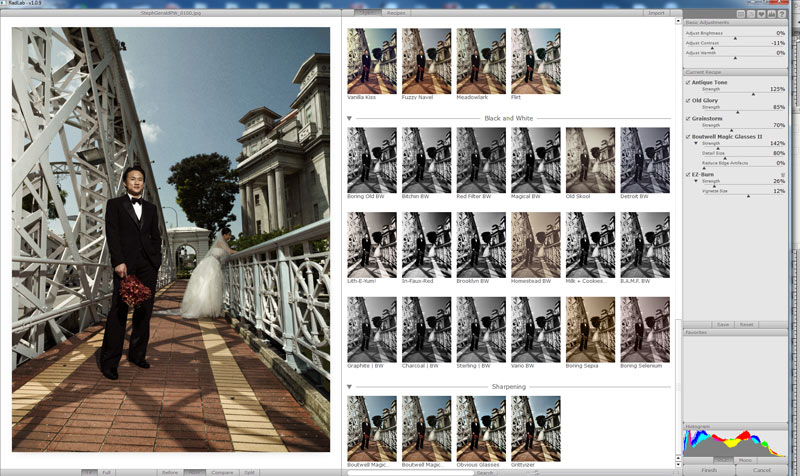
Stacking up 5 effects


*A little tip. Always start with an image with low contrast.  When I render my raw files, my black point is ZERO all the time and I do give a slight bump to shadow fill of about 10-20% to have the maximum shadow details possible.  Since most of the actions tend to add contrast to the image, working with a high contrast image will be tricky.

The histogram on the bottom right is a really nice feature, especially a kind reminder to go easy with the actions.  Click on the ‘Finish’ button and bang!  Check this out…
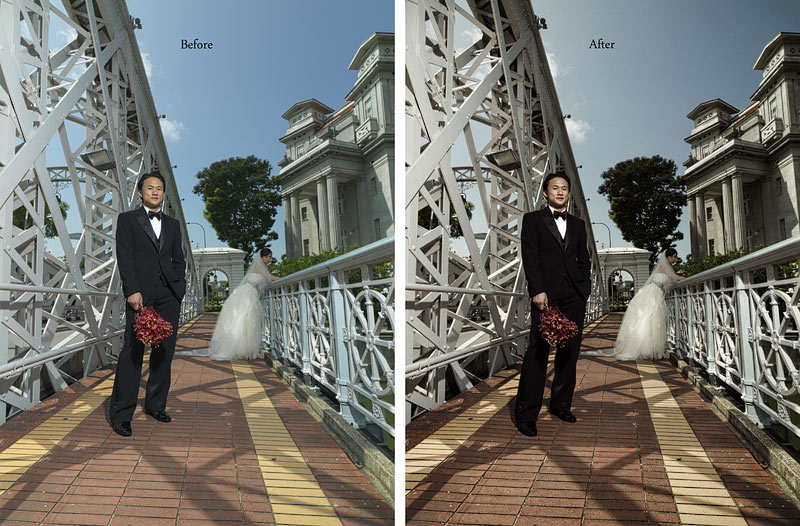
 

RadLab adds contrast, punch and character to the image; highlights and shadow details are well-controlled and  just look at how 3D the details are, especially subject’s face and the building behind on top right.   I’m sure my clients who flew all the way from LA to Singapore for this photo shoot will be quite please to see this.

Here’s another example that stacks 6 Stylets, just look at how easily we apply all these without cracking up the image…
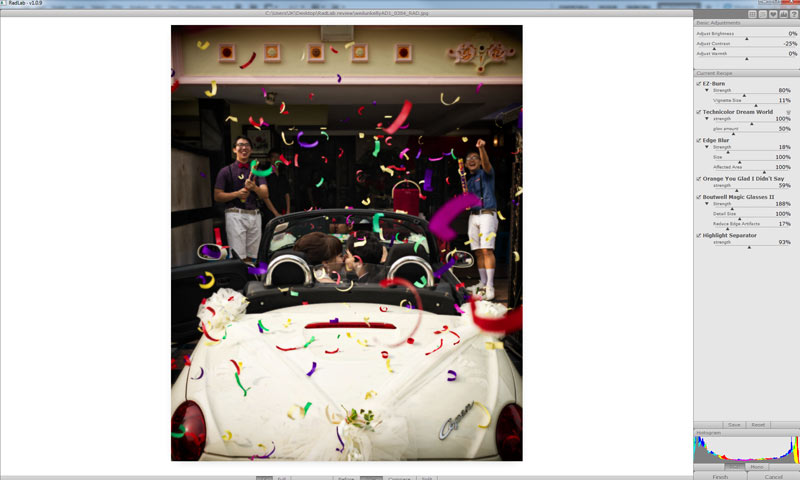
 

Still going strong with 6, no compressed highlights or shadows


Dejavu – Remembering and saving the settings

One of the neatest features of RadLab is that it remembers the last few recipes that you have used, and to top it off, you can even saved them as your own favourites!  Prior to RadLab, all my important work files are saved in un-flattened PSD format so that I can remember the opacity of each adjustment layer that I have applied, which also allows me to go back and make changes to it.  I cannot tell you how much memory space these PSD files do take up especially when we stack like 6 actions (especially the Hasselblad files in full-res), it’s just mad, really.  The great thing about Radlab is, we can now apply the same effect over the same series of images for consistent results, without those additional space hogging layers!  This is also particularly useful when we are doing an album, a good two-page spread is really about the consistency across them and since all the images within are point of reference to each other –  it just takes one to be out of place to ruin the entire spread.
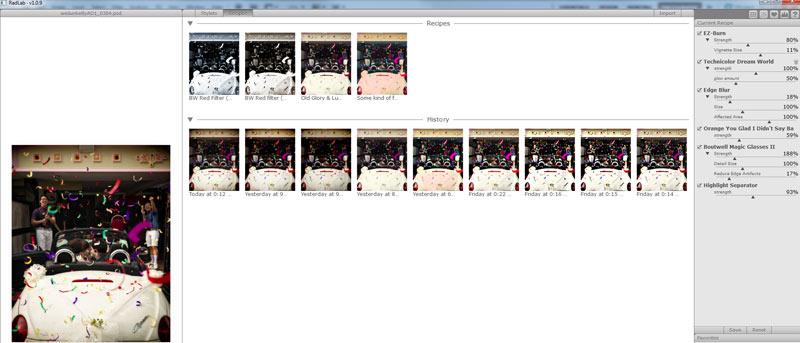
This is money - History and option to save them as favourites!


Black and White

Bitchin B&W and Boring Old B&W are 2 monochrome effects that I have been using since the first version of TRA back in 2008 and they are now amongst of the list of Stylets in Radlab.  The effects are now much easier to adjust, thanks to the sliders…and even bigger thanks to the fact that I can now apply easily the tweaked B&W settings across a series of images.  To add icing to the cake, the two familiar colour temperature adjustment actions Warm it up Kris! and Cool as a Cucumber, can be used to tone the monochromatic images warm or cold respectively.

Here’s one example with BW Red filter (neutral)
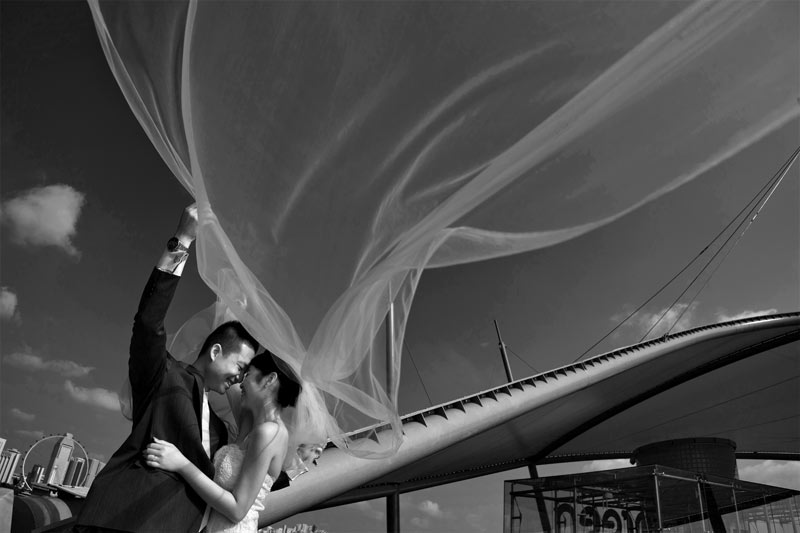
BW Red Filter with Obvious Glass
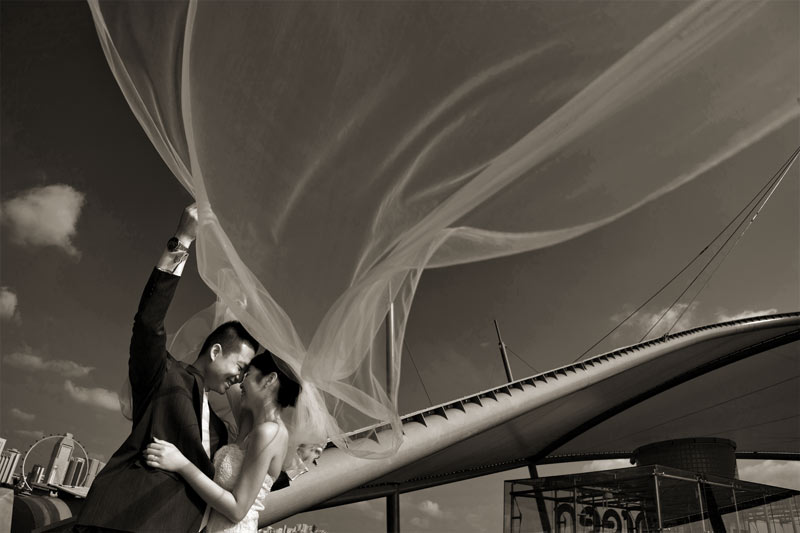
 

BW Red Filter with Obvious Glass + Warm it up Kris!
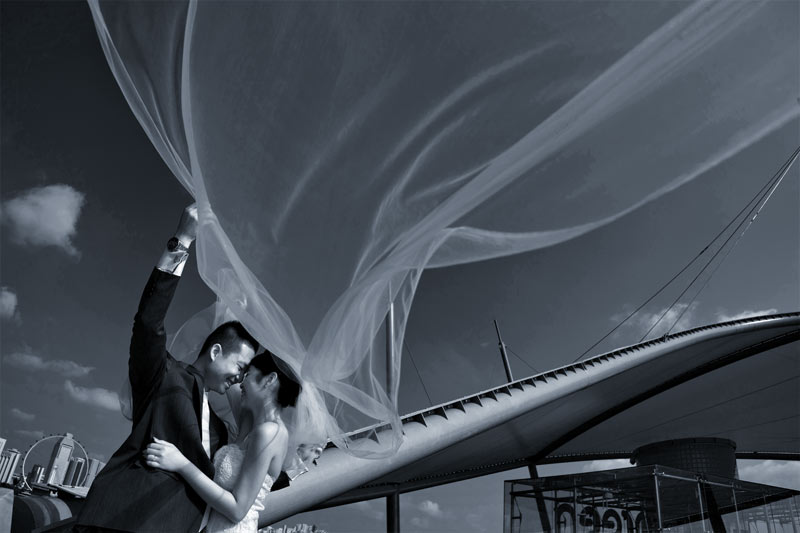


BW Red Filter with Obvious Glass + Cool as a Cucumber

Quick note: Warm it up Kris and Cool as a Cucumber at 60% and 70%.


Same Same but different

Those of us who are familiar with TRA actions would see some familiar faces in RadLab, such is Techno Color Dream World, Pool Party, Rusty Cage, etc.  There are some subtle difference between running the same action via TRA 1 or 2, and through RadLab itself.  Here’s one example using Pool Party straight for both instances (no adjustments or tweaking to the layers), and while the character is the same, there’s a slight difference in the contrast.
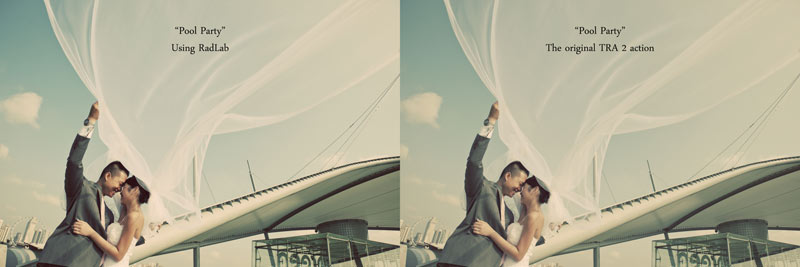
 

Same Same but Different


Things just get better

The good folks in TotallyRad! do take feedback seriously and implement changes and improvement to their product.  Rusty cage is one action that I find a real pain to use wholesale in TRA, shadow and highlights details tend to go wild, the glow, oh mine the glow…There’s a good reason why there’s a slider for the a lot of the actions that provides ‘Glow’ , check this one out:
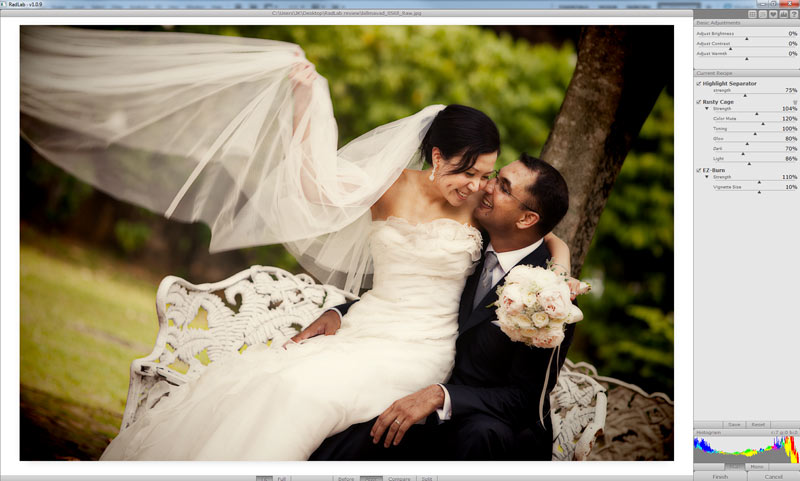
Finally an easy way to fine-tune the Rusty cage effect


Comparing it to the original image, it’s a huge amount of drama and depth RadLab has added:
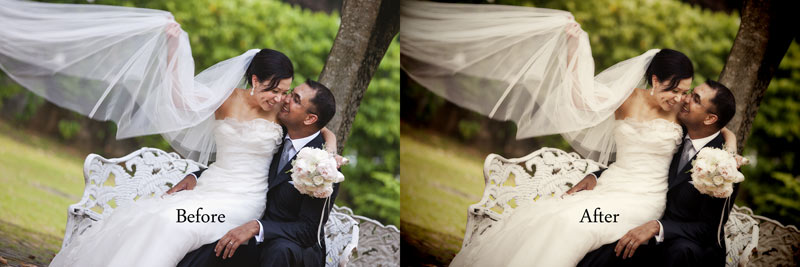
Now, this is Rusty Cage on the money


Other tasty and yummy Stylets that you can look forward are the Boutwell Magic Glasses.  Check out this image that I took at a destination wedding in Marrakech, Morocco –  ND2 filter was deployed and a single 400w strobe was used for the image.  3 different sharpening methods were used and here are the results in a glance:
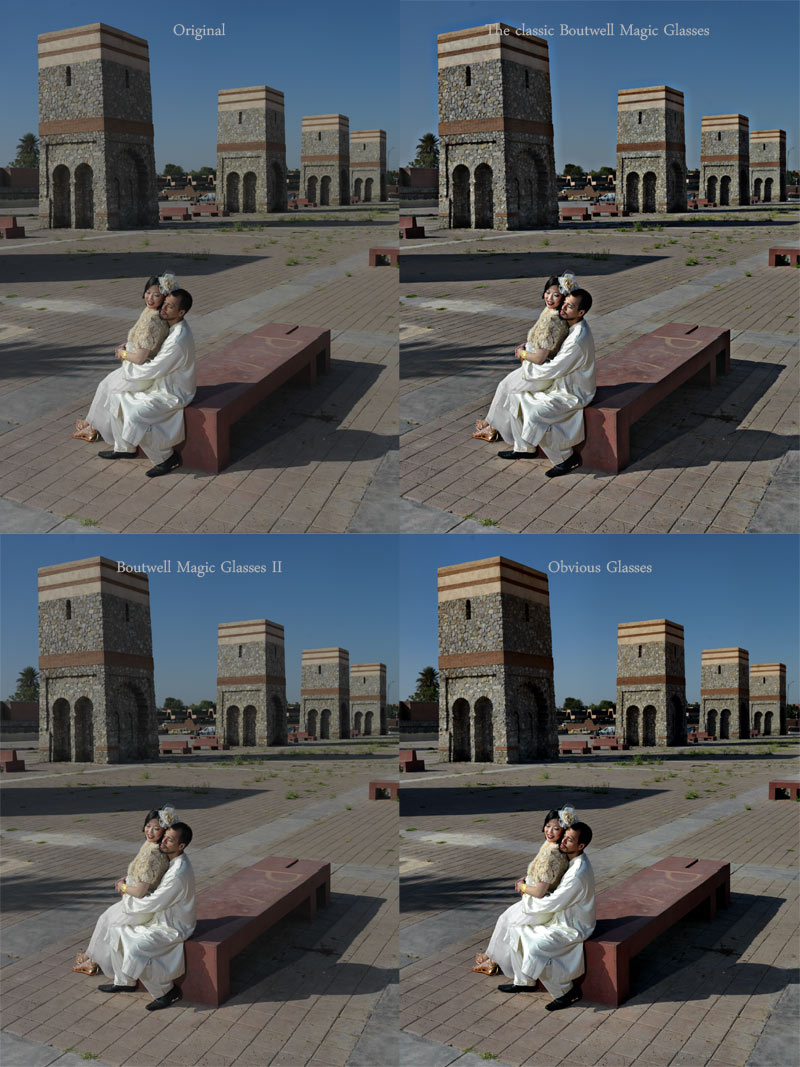
Check your Glasses!


One of my biggest issues with the original Boutwell Magic Glasses is that it adds halos to the image, especially in areas where there are high contrast;  Boutwell Magic Glasses II is a little more controlled and conservative, but it takes care of the halos; Obvious Glasses is the obvious choice here as not only does it add contrast to the image, it gives it a right amount of saturation boost here.  I can also see Obvious Glasses as a good everyday Stylet, useful for creating proofs for the customers.


My Wishlist for the next version…

  1. Option for layer masking.  Ok, some of you might be saying “hey what’s wrong with this guy, he just said he doesn’t want those cumbersome layers and now it’s on his wishlist??”   For me, I would love to have the option of the layer mask and apply the effect selectively…yes, more control when necessary.  This would be particularly useful for the Highlight Separator as this is one action that while it does what it does best, i.e to recover the highlights, it does mess around with the areas where the skin tones are.  Right now, I find myself having to duplicate the base layer (Ctrl-J), apply RadLab on the duplicate layer, and then adjusting the opacity of it to taste.  Readers might also like to know that I never like to apply an action or an effect wholesale without any tweaking or modification on my part – it’s also faster sometimes to just down the opacity of the effects layer by 10%, rather than have to go through the whole processing algorithm again.  All I’m asking for is just a check box if we want to render the effect on a separate layer people like me.
  2. Better vignettes controls.  EZBurn, the stylet used for creating a vignette around the image tends to cause a bit of banding, especially to the skies, even at very minute amount of 7%.  There are quite a good number of plugins out there that does a very good job with vignettes and this is one area that I hope to see improvement in.

My Verdict
So is RadLab worth getting even though you already have TRA 1 and 2? My answer is a big Yes.  Do we still need TRA 1 & 2?  Yes, we still do…  If only RadLab can incorporate Pro-retouch, f/zero and Greetings from Paradise, I would be a happy man…and I would really like to see the new Stylets in revised versions of TRA 1 and 2!

For those who are new to the TotallyRad! family, RadLab is a great introductory tool, think of it as a sampler before buying TRA 1 & 2.  For those who are already using TRA in their workflows, RadLab is a great platform and colour palette to encourage the users to think out of the box – no excuse for not being able to come out with their own recipes and concoctions.  The endless creative permutations and possibilities is what makes this software a joy to use.


Parting notes

Like all plugins, actions or Photoshop tools out there, RadLab cannot make a badly taken image look good, but it can make a well-taken and properly exposed image look really great.  I’m also aware that some folks are probably wondering why I even want to reveal what I use in my workflow….well, let’s just say that each of us have our own unique vision, it’s not what ingredients, but more of how we use it.
With that, I would like to congratulate and thank the team behind TotallyRad! for a job well-done, keep doing what you are doing, you guys ROCK and I look forward to more kick-ass products in the future.
Post to Twitter

Final Call for Overseas Bridal Photography in UK

Following my previous post on overseas bridal photography in London, we are going back to the charming city of Central London and possibly New Castle this coming October. This is one place that I have been visiting every other year since 2008 for overseas photography sessions.

Those who are keen to join us, please drop me an email at stephen@lyricalmoments.net  asap! 🙂

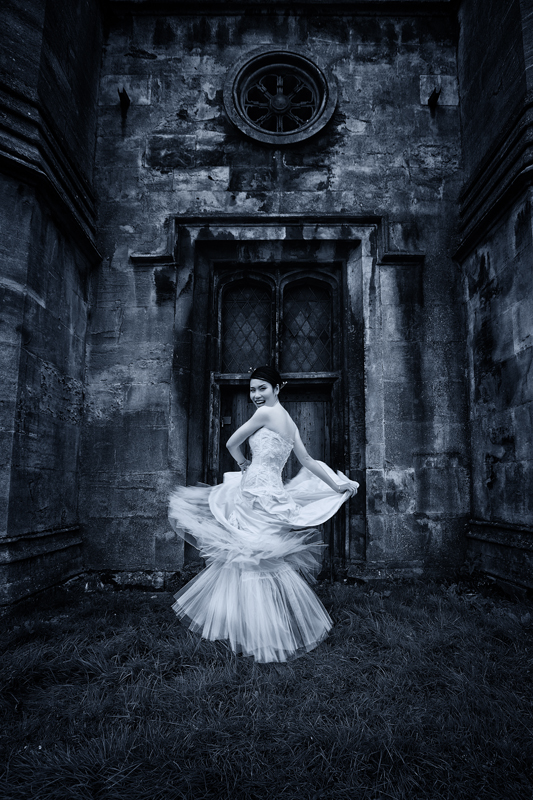
And one of my all-time favourites photographed in Bath, UK

Beautiful Parisian bridal gown 'twirled' in Bath, UK

Post to Twitter

Printing for Competitions

It’s the time of the year when competitions start to pile up one after another.  We have the Master Photography Awards,  which I’ve been a part of since 2007, Canon Creativeasia, WPPI and AIPP, spread out over the year.

IMO, photography competition should be a print competition, especially for wedding photography section.  My approach to photography is always about the print and print quality is such a neglected concept amongst wedding photographers, especially when most just want to deliver images on a CD.  Also, what looks good on screen, doesn’t necessary means it can be printed out nicely. Yesterday, I attended a workshop by

To be honest, print quality has never been in my vocabulary until I joined the Master Photographer Association (MPA) from UK.  And trust me, I learnt it the hard, hard way.  First lesson I learnt, you need time to do a good print; knowing how to prepare an image for printing requires discipline.  Before anything gets printed to 8″x10″ or 10″x12″ for the competition, the lab needs to print out a set of proofs on 4″x6″ on the paper of choice.  Choosing the right kind of paper is another hairy part of the print making process that even my own printers have problems grappling with.  Some of the prints are obvious candidates for Kodak Endura Metallic paper or Fuji Pearl paper, some are slightly more artsy that looks great printed on fine-art matt or textured paper, some are safer on lustre paper because of the high dynamic range compared to the former. Oh wait, don’t even bother about metallic or glossy paper for competitions like WPPI, having your prints viewed in a room lit by just 2 strong light source at 45 degrees to the print means you’re probably better off with matt paper…. these are power tips that are shared by veterans as well as judges from WPPI.

For example, this is one print that I did on metallic paper for MPA because of the shimmer in the image itself and the grass textures is brought out really nicely on it.  Matt or lustre paper somehow looked a little too safe for this.

The Missing Link

As well as this piece, Tangled

Tangled


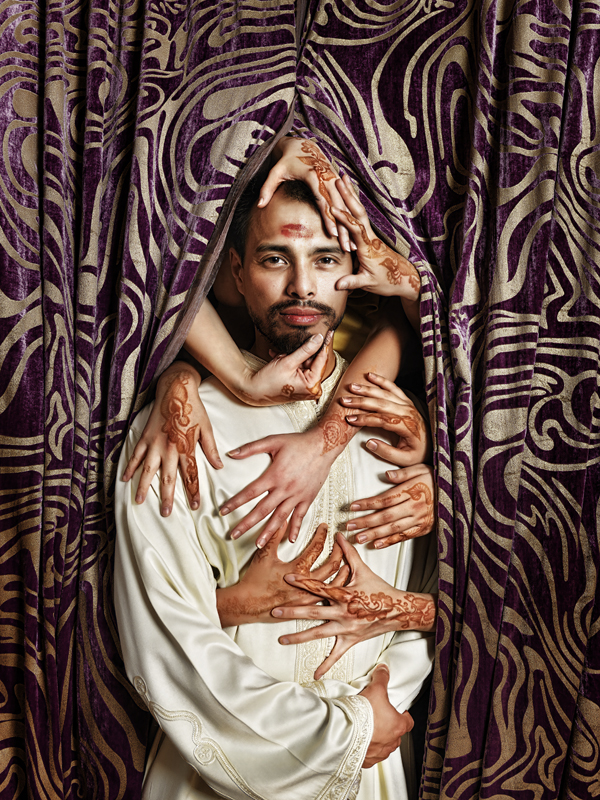
The next one that I photographed in Morocco, entitled Hand-some, was printed on lustre paper.


Also, all these works were shot on my Hasselblad H4D-40, a digital medium format setup which gives incredible details and tonality when we print it.  It’s really about how effortless and how smooth the details are being drawn, and this is something that make me wish that all competitions are at least 16″x20″ in print size! 🙂

We have consolidated over 100 prints from 6 photographers to share out the freight cost.  Trust me, a 5.4kg parcel ain’t cheap, but sharing it among 6 photographers makes it really affordable at USD$17 per pax.  Good luck Team Singapore!


Post to Twitter

Wedding Photography tips: Neutral Density Filters – what the Singapore wedding photographer like me can’t live without

One of the biggest challenges for outdoor photography in Singapore is working with rather harsh lighting from the sun.  Some might argue that we have the same sun throughout this solar system, but having done assignments in various part of the world, I’d say that not only is the quality of light very different (the angle in which the light strikes on different part of the world seems different), we have a much longer duration of good light.

A typical outdoor photography session in Singapore usually gives us about 2-3 hours of good quality light, around 4pm to 7pm; in the last shoot we did in Melbourne, we had 7 hours of good light during summer.

To add salt to the wound, clear skies with nice dramatic is a rarity, and even when it happens, chances are that there will be little contrast between the clouds and the sky in what most people describe as a ‘washed-out’ sky.

What photography books will teach you is to use a flash to balance the exposure.  Yes, this method works but Skye Tan, a renowned fashion photographer in Singapore, shared with me his technique of using ND filters for outdoor photography and I can never thank him enough for that.  The idea is to use a neutral density (we’ll call it ND) filter in front of the lens, which not only help to trim down the exposure for the sky and rendering it blue, but also, it improves the contrast between the clouds and the sky.  Using a higher flash shutter sync will make the sky darker, but somehow those shot with the ND filter gives a better sky-cloud contrast.

And I thought lighting in Singapore was harsh enough, until my assignment in Morocco.  Just a week before my trip to Marrakesh in Morocco, a Master Photographer from UK, Kevin Wilson, shared with me how harsh light can get over in the North African city and I went with the ND2 and ND4 filters.  How good are these filters? Well, looking back now, I feel that they made my trip worthwhile!

So what exactly does ND filters do?  Here are some examples:

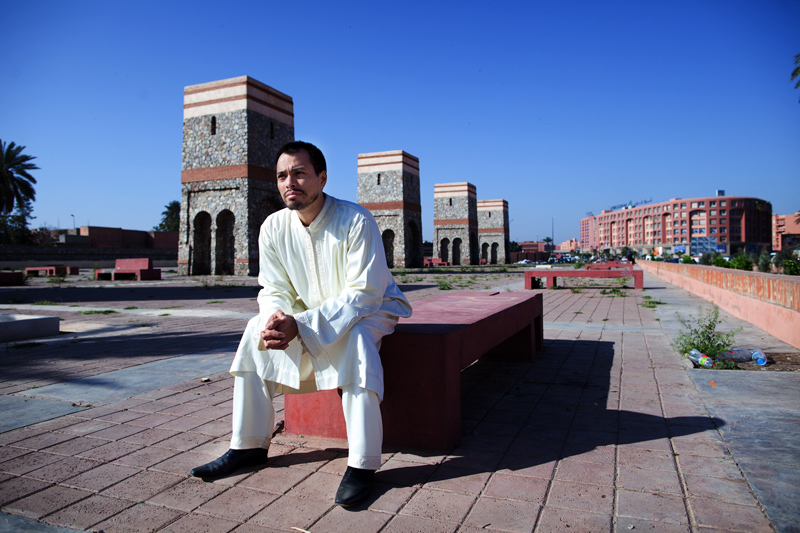
This is shot by Don Lim, another photographer who was assisting me for this photo shoot.  I got him to take this photo for comparative study later and the image is quite closed to how the scene looked like that morning @9am.  This is done with post-production for the skies to make it look bluer.  The intention of this image is not to show how bad it look (this image looks fine actually), but how much more potential you can get out of using filters for the same scene.


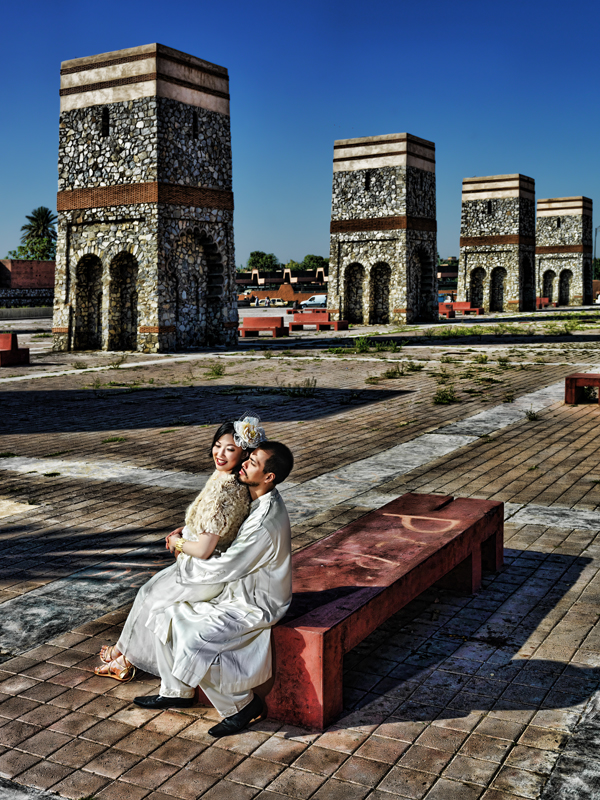
Shot with an ND2 filter with the strobe.  .  Look at the details and texture that we could get from the 4 brick structures, as well as the floor, even under such harsh lighting.  There’s very little post-production work that I did to this image to achieved to get this look.

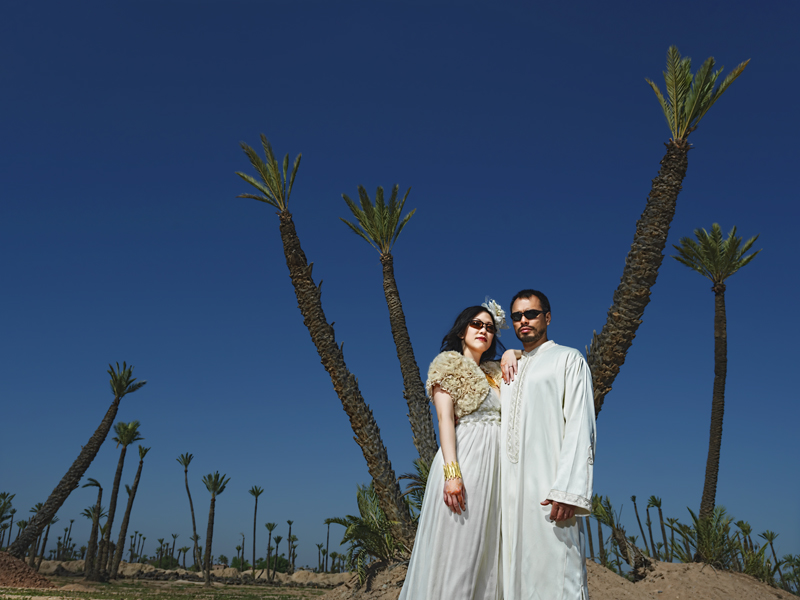
We proceeded to the palm area and at 10am, we needed to trim off even more light from the sky and out came the ND4 filter from the bag.  Compared to the ND2, the ND4 filter cuts down by 2 stops instead of 1.


More examples from Singapore:

I managed to get the sky details without having to do any post-production to the picture. This was shot on a seemingly cloudy day.

One more example from a recent photo shoot in Singapore under extremely harsh 12 noon sun.  Again, look at how the filter managed to tame the scene down.  Very little or no post-production work was required to bring out the floor or skies details.  The warm tone and sky colour is applied in post-production.


In conclusion, are ND filters a good investment?  Yes, they can be inexpensive if you know where to buy them (Ebay & B&H are my best friends).  No doubt, some might argue even if we don’t use an ND filter, with some more post-production work, we might be able to achieve the same effect.  But that means additional work in Photoshop and in wedding photography, we deal with not one, but a series of images from the same scene for the clients’ album – attempting to do post-production on every image with the consistent amount of dodge/burn can be a nightmare and certainly a tedious task.

If you’re not convinced, you can always try it out with the cheaper ones out there (there are some good buys over Ebay) for a start.  Once you’re comfortable with it, you might want to upgrade to better quality ones like Lee filter or Tiffen.

To end off, many thanks to Skye Tan for his generous sharing of knowledge and techniques on how to bring the Skye sky out in the image 🙂 Also, thanks to Don Lim, for his permission to use the image for educational purpose.

Post to Twitter