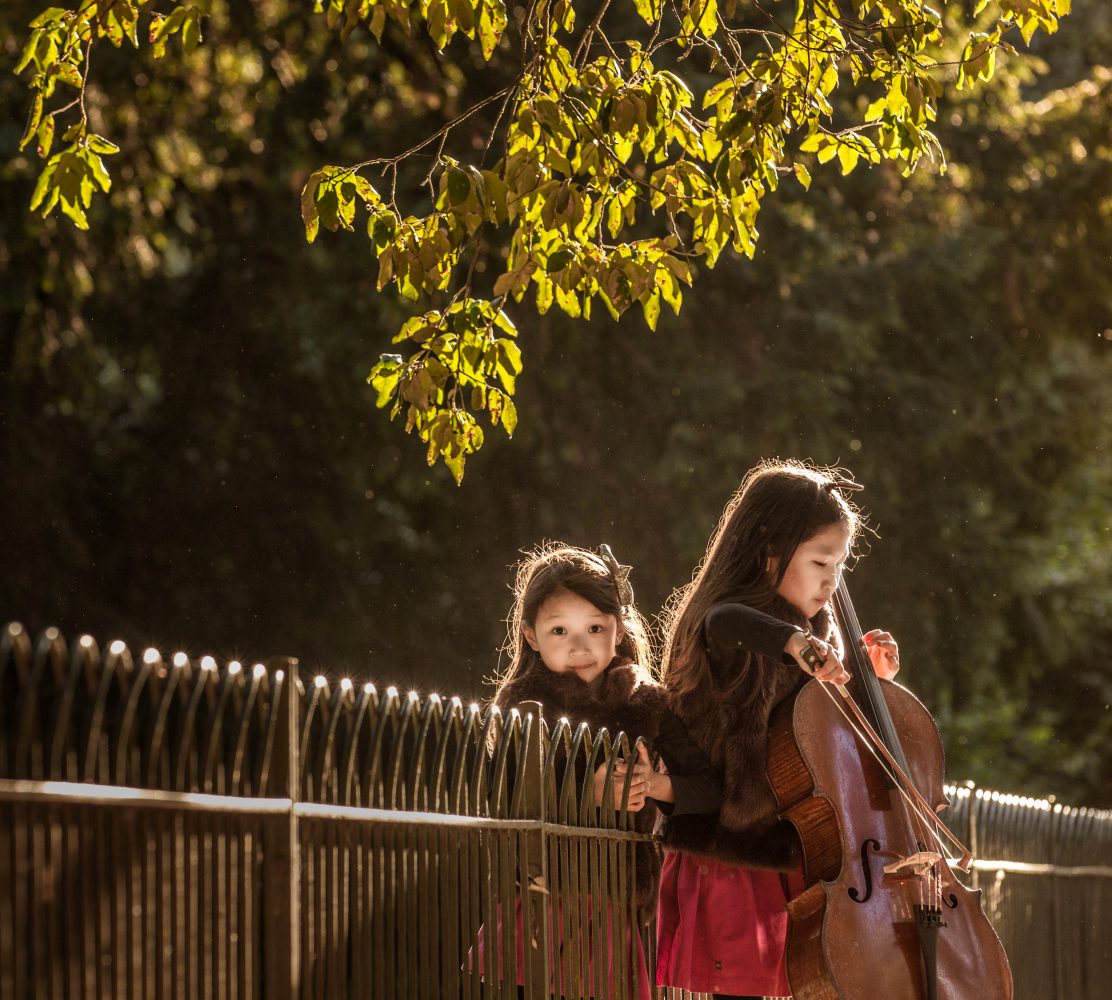
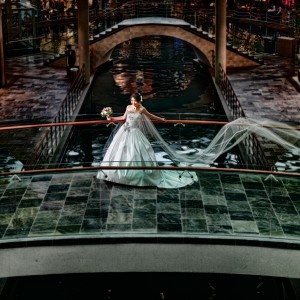
One of the biggest challenges for outdoor photography in Singapore is working with rather harsh lighting from the sun. Some might argue that we have the same sun throughout this solar system, but having done assignments in various part of the world, I’d say that not only is the quality of light very different (the angle in which the light strikes on different part of the world seems different), we have a much longer duration of good light.
A typical outdoor photography session in Singapore usually gives us about 2-3 hours of good quality light, around 4pm to 7pm; in the last shoot we did in Melbourne, we had 7 hours of good light during summer.
To add salt to the wound, clear skies with nice dramatic is a rarity, and even when it happens, chances are that there will be little contrast between the clouds and the sky in what most people describe as a ‘washed-out’ sky.
What photography books will teach you is to use a flash to balance the exposure. Yes, this method works but Skye Tan, a renowned fashion photographer in Singapore, shared with me his technique of using ND filters for outdoor photography and I can never thank him enough for that. The idea is to use a neutral density (we’ll call it ND) filter in front of the lens, which not only help to trim down the exposure for the sky and rendering it blue, but also, it improves the contrast between the clouds and the sky. Using a higher flash shutter sync will make the sky darker, but somehow those shot with the ND filter gives a better sky-cloud contrast.
And I thought lighting in Singapore was harsh enough, until my assignment in Morocco. Just a week before my trip to Marrakesh in Morocco, a Master Photographer from UK, Kevin Wilson, shared with me how harsh light can get over in the North African city and I went with the ND2 and ND4 filters. How good are these filters? Well, looking back now, I feel that they made my trip worthwhile!
So what exactly does ND filters do? Here are some examples:
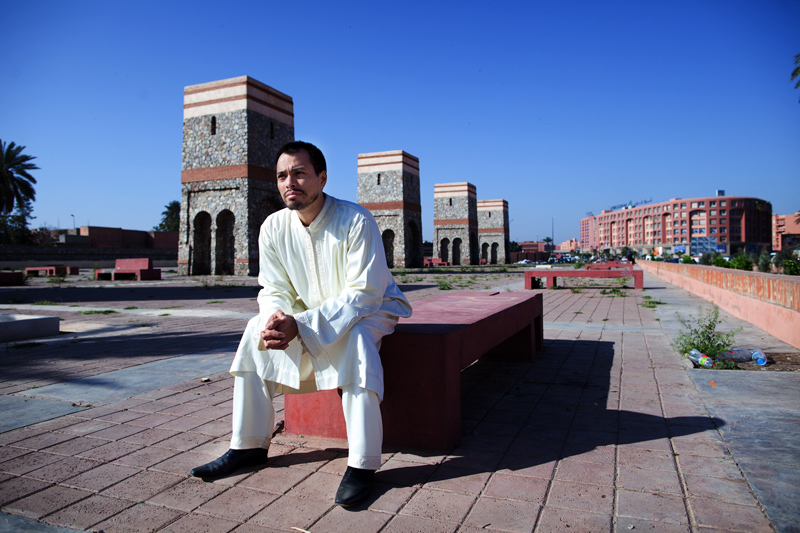
This is shot by Don Lim, another photographer who was assisting me for this photo shoot. I got him to take this photo for comparative study later and the image is quite closed to how the scene looked like that morning @9am. This is done with post-production for the skies to make it look bluer. The intention of this image is not to show how bad it look (this image looks fine actually), but how much more potential you can get out of using filters for the same scene.
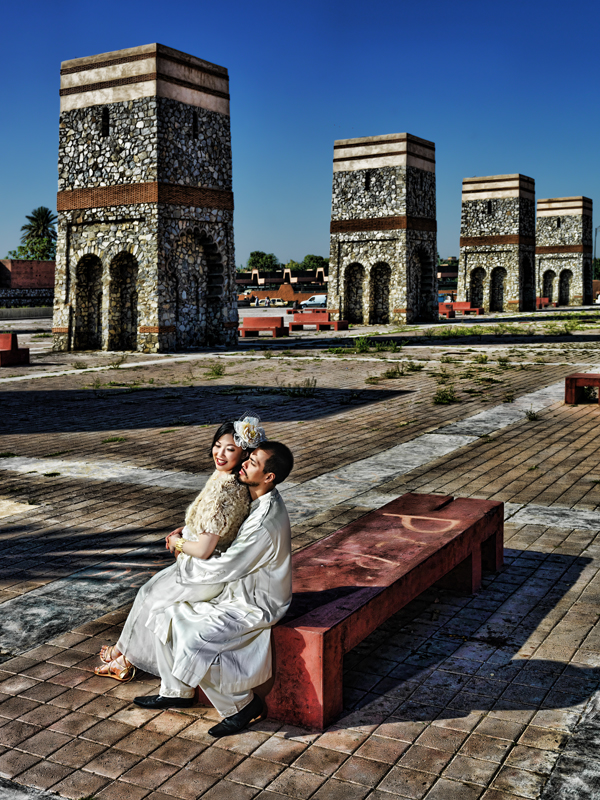
Shot with an ND2 filter with the strobe. . Look at the details and texture that we could get from the 4 brick structures, as well as the floor, even under such harsh lighting. There’s very little post-production work that I did to this image to achieved to get this look.
We proceeded to the palm area and at 10am, we needed to trim off even more light from the sky and out came the ND4 filter from the bag. Compared to the ND2, the ND4 filter cuts down by 2 stops instead of 1.
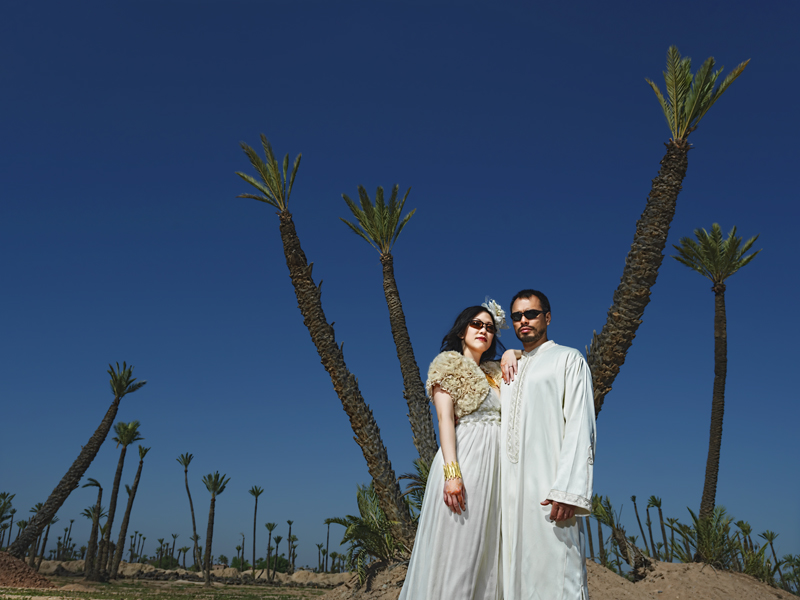
More examples from Singapore:
I managed to get the sky details without having to do any post-production to the picture. This was shot on a seemingly cloudy day.
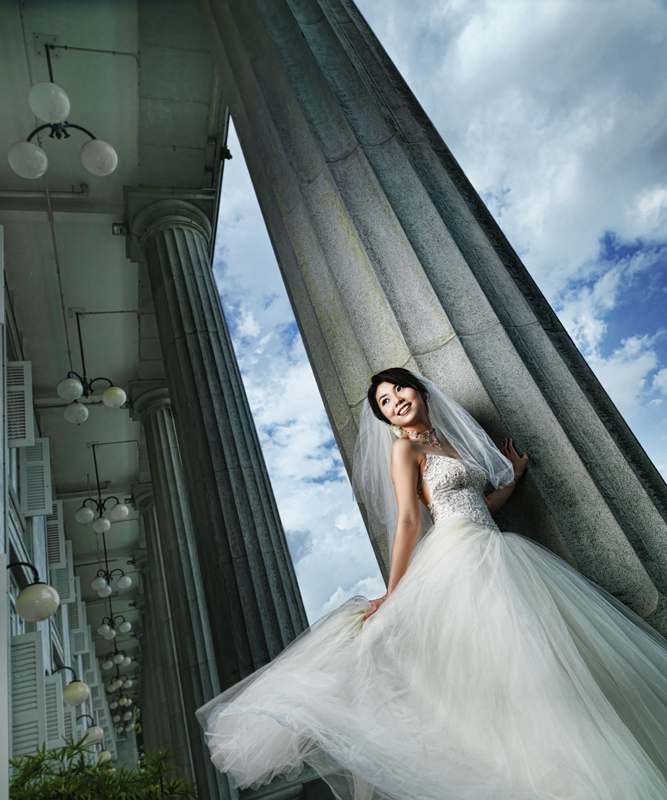
One more example from a recent photo shoot in Singapore under extremely harsh 12 noon sun. Again, look at how the filter managed to tame the scene down. Very little or no post-production work was required to bring out the floor or skies details. The warm tone and sky colour is applied in post-production.
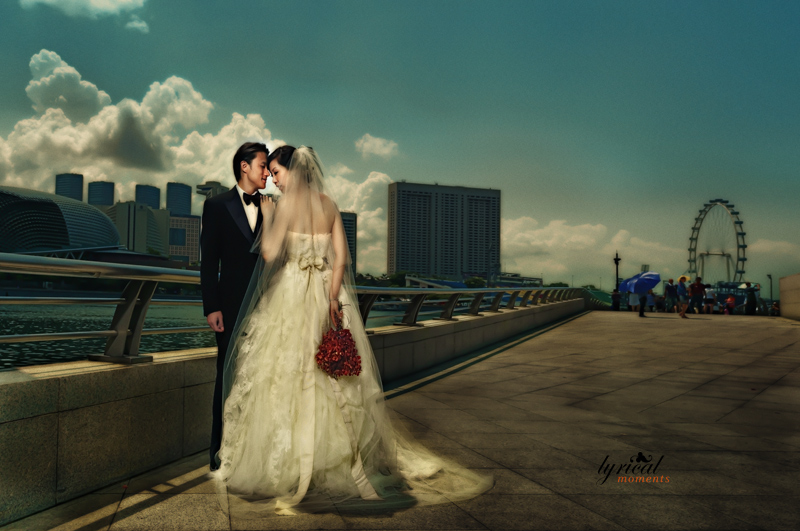
In conclusion, are ND filters a good investment? Yes, they can be inexpensive if you know where to buy them (Ebay & B&H are my best friends). No doubt, some might argue even if we don’t use an ND filter, with some more post-production work, we might be able to achieve the same effect. But that means additional work in Photoshop and in wedding photography, we deal with not one, but a series of images from the same scene for the clients’ album – attempting to do post-production on every image with the consistent amount of dodge/burn can be a nightmare and certainly a tedious task.
If you’re not convinced, you can always try it out with the cheaper ones out there (there are some good buys over Ebay) for a start. Once you’re comfortable with it, you might want to upgrade to better quality ones like Lee filter or Tiffen.
To end off, many thanks to Skye Tan for his generous sharing of knowledge and techniques on how to bring the Skye sky out in the image 🙂 Also, thanks to Don Lim, for his permission to use the image for educational purpose.
